

What is Getting Started Mondays?
Every Monday we will highlight a Core XM feature, and the post will include a description of the chosen topic, a support page, and related community content. The goal of this weekly series is to help users find support pages or community posts that relate to the topic. Remember to always contact Qualtrics Support for product-related issues or urgent questions.
Getting Started Mondays | October 9th 2023
Topic: Creating Response Reports
If you’ve ever needed to include a survey response summary in an email before, you’ve likely used the Include Response Report feature on an email task. This feature displays full question text and answers in a follow-up email to respondents but does not allow you to select certain questions or information.
Since you cannot customize your response report, an alternative option to this use case is to use Piped Text to select your desired questions and format them in an easy-to-read fashion. Instead of enabling the Include Response Report option, you can pick and choose what information you wish to display to the respondent, whether that be metadata, embedded data, or simply question and answers. This may not be the perfect solution for survey creators who only want to exclude a few questions from a large survey, but it does create a viable option to use when you wish to display a condensed version of a survey response.
Start providing personalized follow-up emails by creating your own response reports today!
Where to find this feature:
- Go to the Workflows tab.
- Select Create a workflow.
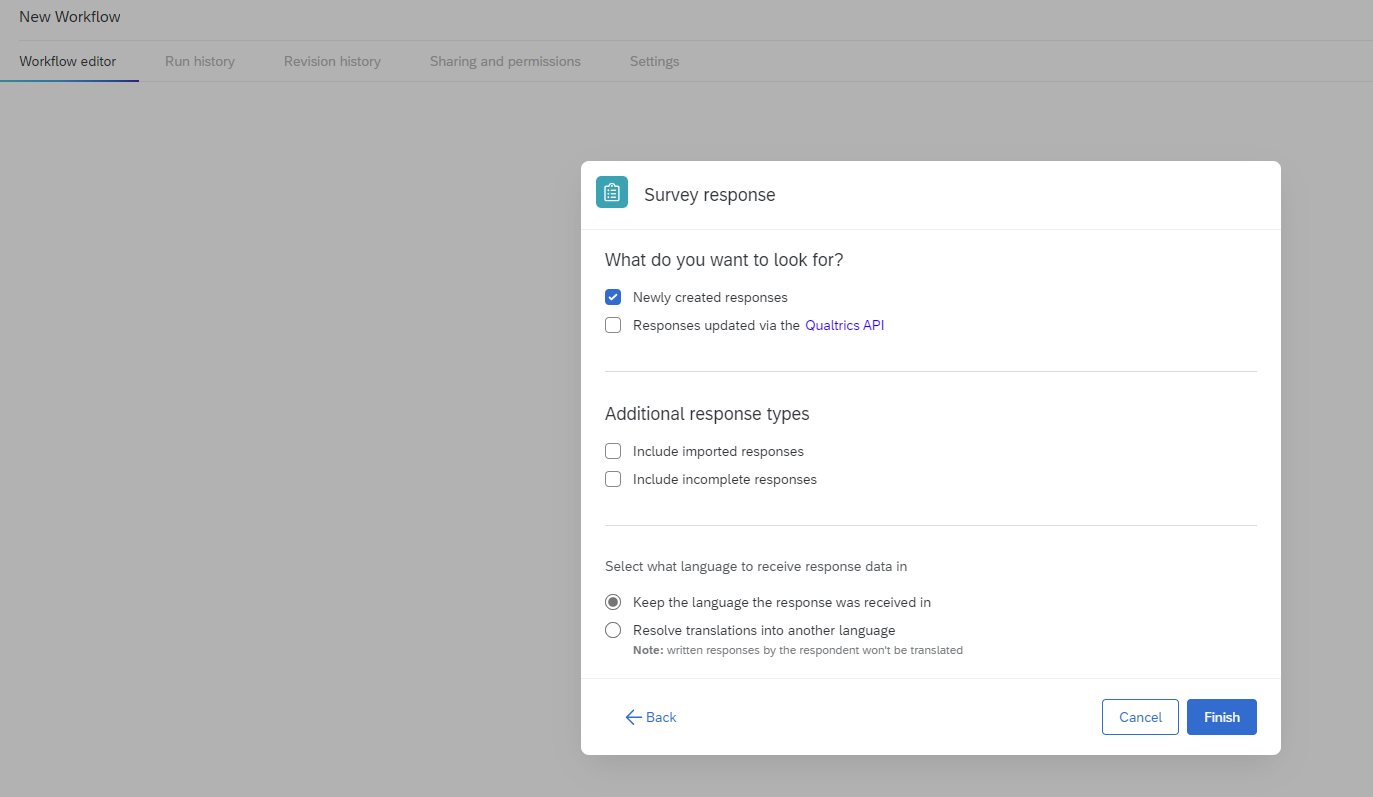
- Choose Started when an event is received.
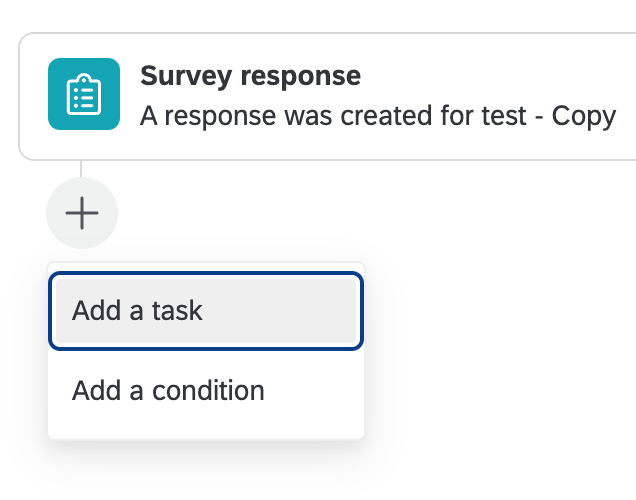
- Choose the Survey response event.
- Select Email as your task.
- Click on the Piped Text icon.
- Select a specific Survey Question.
- Choose the Selected Choices option.
Support Page Link:
Community Post Links: